

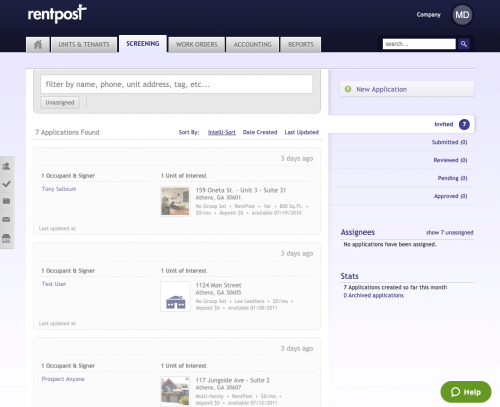
You may have noticed that recently the “Marketing” tab has turned into the “Screening” tab.
The Screening tab is the beginning of what will be our Tenant Screening interface. At this time, the flow is very similar to the Work Orders tab with statuses along the right side and the Prospects/Applicant information along the left. The primary purpose of this section is to create a New Application by inviting the applicants to fill out their personal information such that a Manager can evaluate whether they are a good fit for the unit they are interested in.
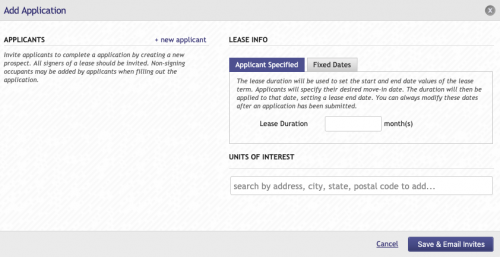
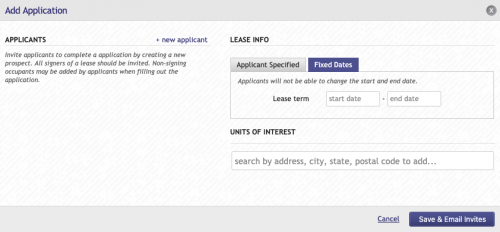
After you have clicked New Application, there are two primary options for the lease term. You can specify the duration in number of months or select the specific date range you intend for the lease.
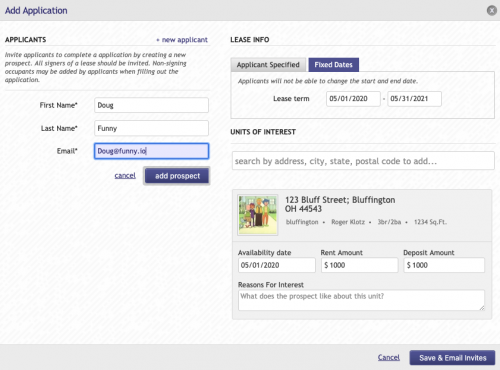
Clicking “new applicant“, you’ll fill out the applicant’s name, email used to send an invite to complete the application. Before saving, you can also select a Unit of Interest, or multiple, if you know which unit the Prospect has expressed interest in. Click Save & Email Invites for the applicant(s) to receive the email invite to fill in the rest of their details.
The applicant will receive the Rental Application Invite which has a link to click and a simple interface to enter the remaining data needed to review the application. The fields required for applicants to complete can be further customized in your settings, including requiring file attachments and much more!
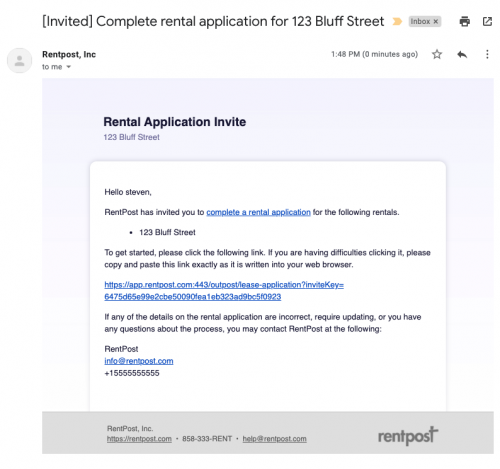
When starting the Rental Application, any information about the units of interest will show with the amounts that the rent and security deposits are set at, respectively.
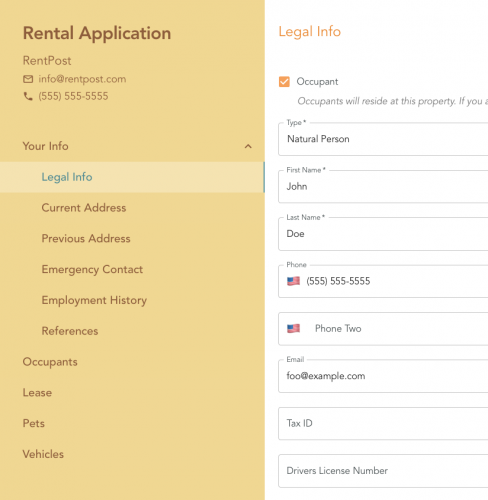
After getting started, applicants are immediately taken to the Your Info section. This is where they’ll input all of their legal/personal details, current/previous addresses, emergency contacts, employment history, references, etc. All of this can, of course, be customized as well under the management company’s settings.

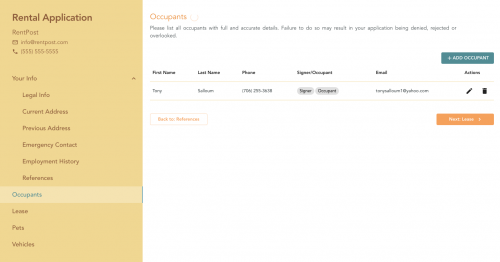
If there will be any additional occupants for the property, applicants can add these people under the Occupants section. Any signers associated with the rental applicant must be added by managers and sent an invite.
Depending on how the management company recorded the lease term for the application, the applicant will have the option to select a desired move-in date on the Lease tab. If fixed dates were chosen, this option will not be available, and instead, the dates are fixed.

On the Pets screen, the prospect will need to click +ADD to enter in the details of a family pet.
The Type, Name, Breed, Age, Weight and Location of the Pet can be listed in the +ADD screen. Once data is saved, clicking Next will move onto the Vehicles section.

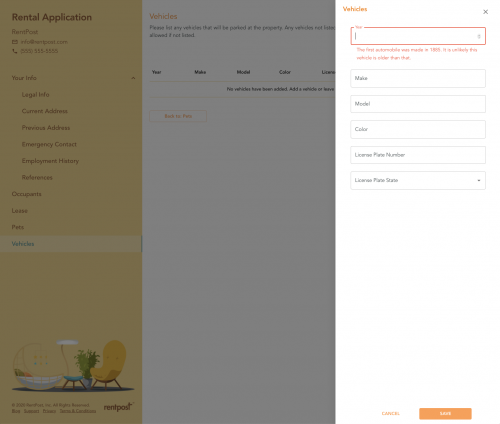
Just like in the Pets section, Vehicles will need to be added one at a time by clicking the +ADD button.
The Vehicles ADD screen asks for Year, Make, Model, Color, License Plate Number and License Plate State. Once saved, a final overview page display for review.
Finally, the Overview page shows all the data entered in the previous steps and allows for an Update to the application, Save for later or Next which then submits the details back to the Management team under the Screening tab.
It’s important to note that most of the rental applicant can be customized to fit your management company’s needs. By going to your company settings, you’re able to customize many options.
Firstly, you can customize the workflow for your applications, allowing your team to organize an onboarding workflow that fits the way you work.

Add application requirements that will be shown when the rental application is first displayed for applicants.

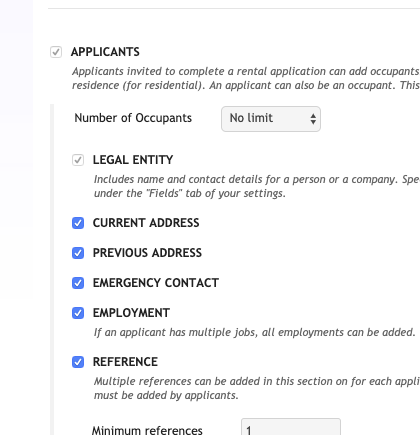
Further customize what sections and specific requirements you require for applicants. You can set a limit on the number of occupants, minimum number of references required, etc.
You can even add custom applicant questions or questions required for an application as a whole, for all applicants combined.

At the end of the day, we’ve built one of the most customizable, flexible and user friendly rental application and onboarding workflows available. We look forward to hearing your feedback on this new and exciting feature. And best of all, there is much more to come!
Great guide. I can now create my own. This will help a lot of businesses